Create a callout
Spin up a mission in under a minute: incident type, status, staging locations, key points — and a CalTopo map that builds itself.
About 5 minutesStep 11 of 19 in team setup
Start the callout
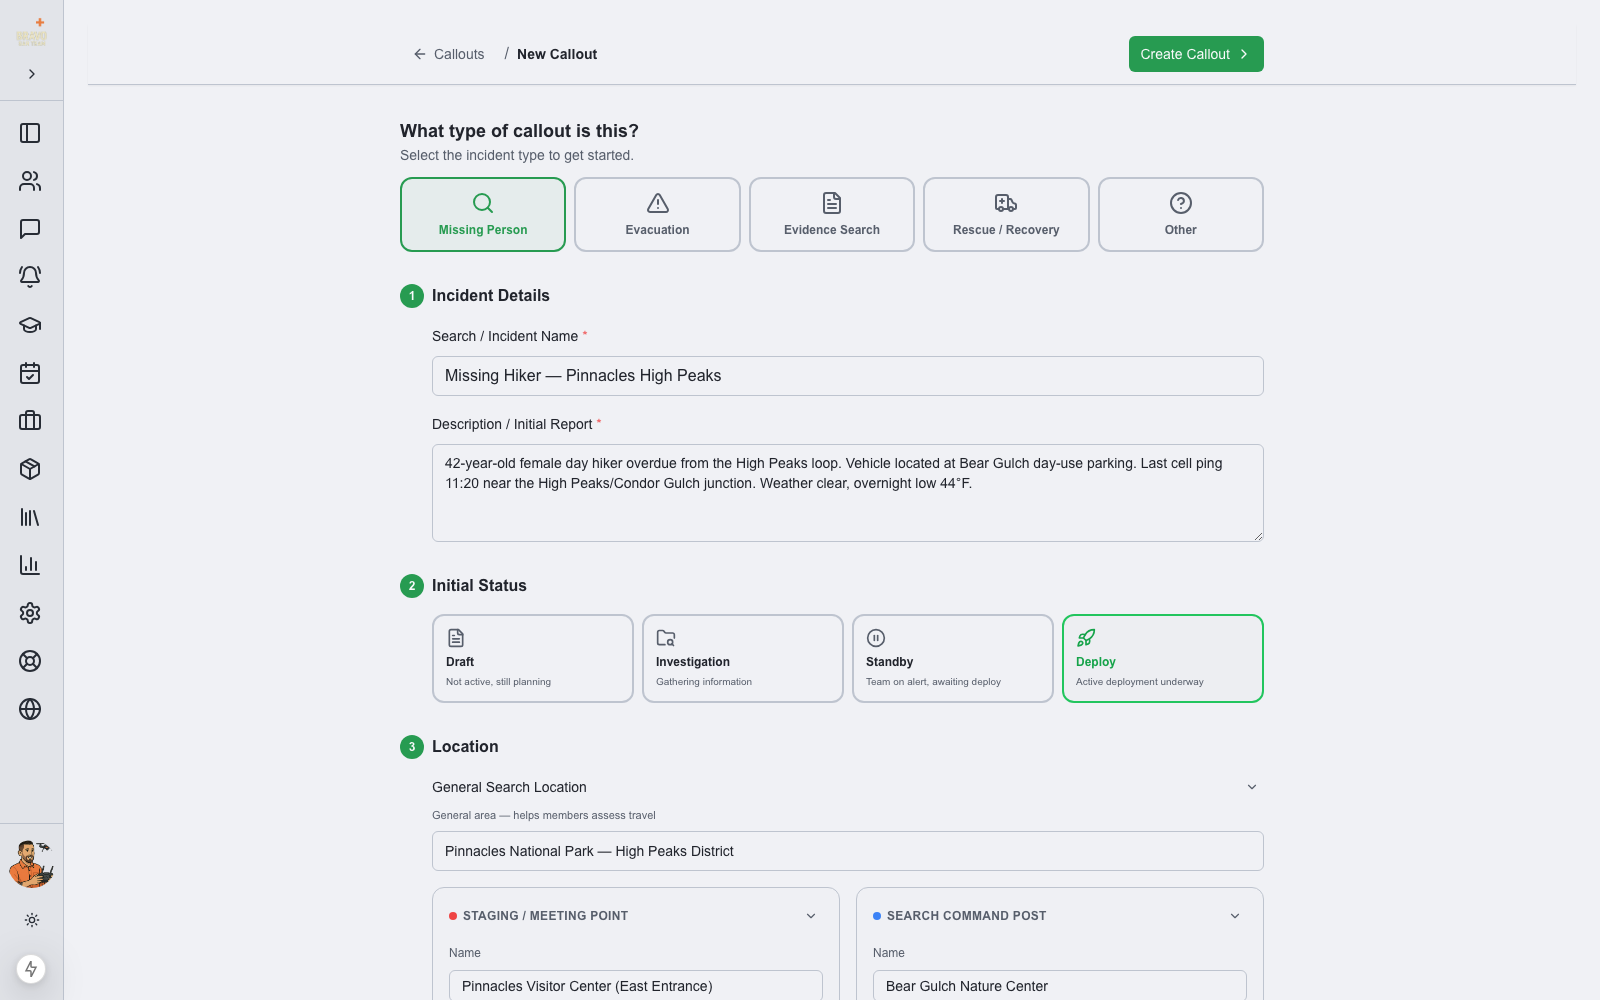
Click Create Callout from the dashboard Quick Actions or the Callouts page. Choose the incident type — Missing Person, Evacuation, Evidence Search, Rescue / Recovery, or Other — then set the initial status:
- Draft — not active, still planning; invisible to members
- Investigation — gathering information
- Standby — team on alert, awaiting deploy
- Deploy — active deployment underway
Name it and describe it
Enter a Search / Incident Name and the initial report in the description. This is what members see first in the alert, so lead with what they need: who’s missing, where, since when.
Set locations and response deadline
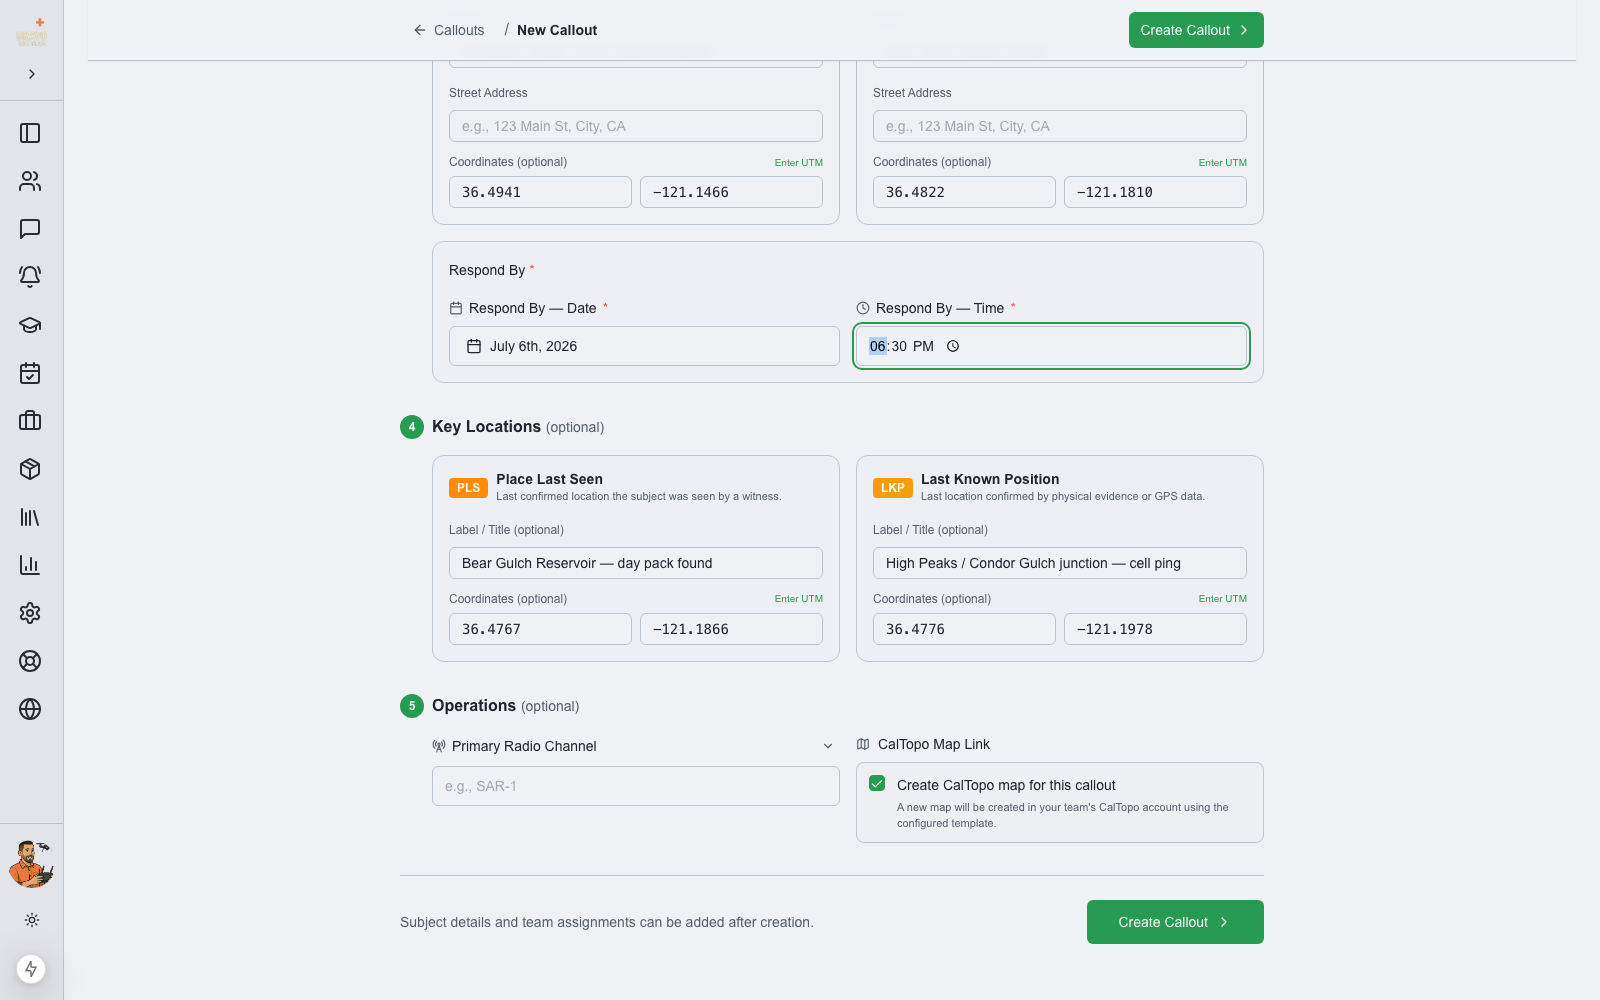
Fill in the Staging / Meeting Point and Search Command Post — your Saved Locations are one click away, or enter coordinates (lat/long or UTM) for anywhere new. Set the Respond By date and time so members know the response window.
Under Key Locations, add the PLS (Place Last Seen) and LKP (Last Known Position) with coordinates — these become markers on the mission map.
Create — map included
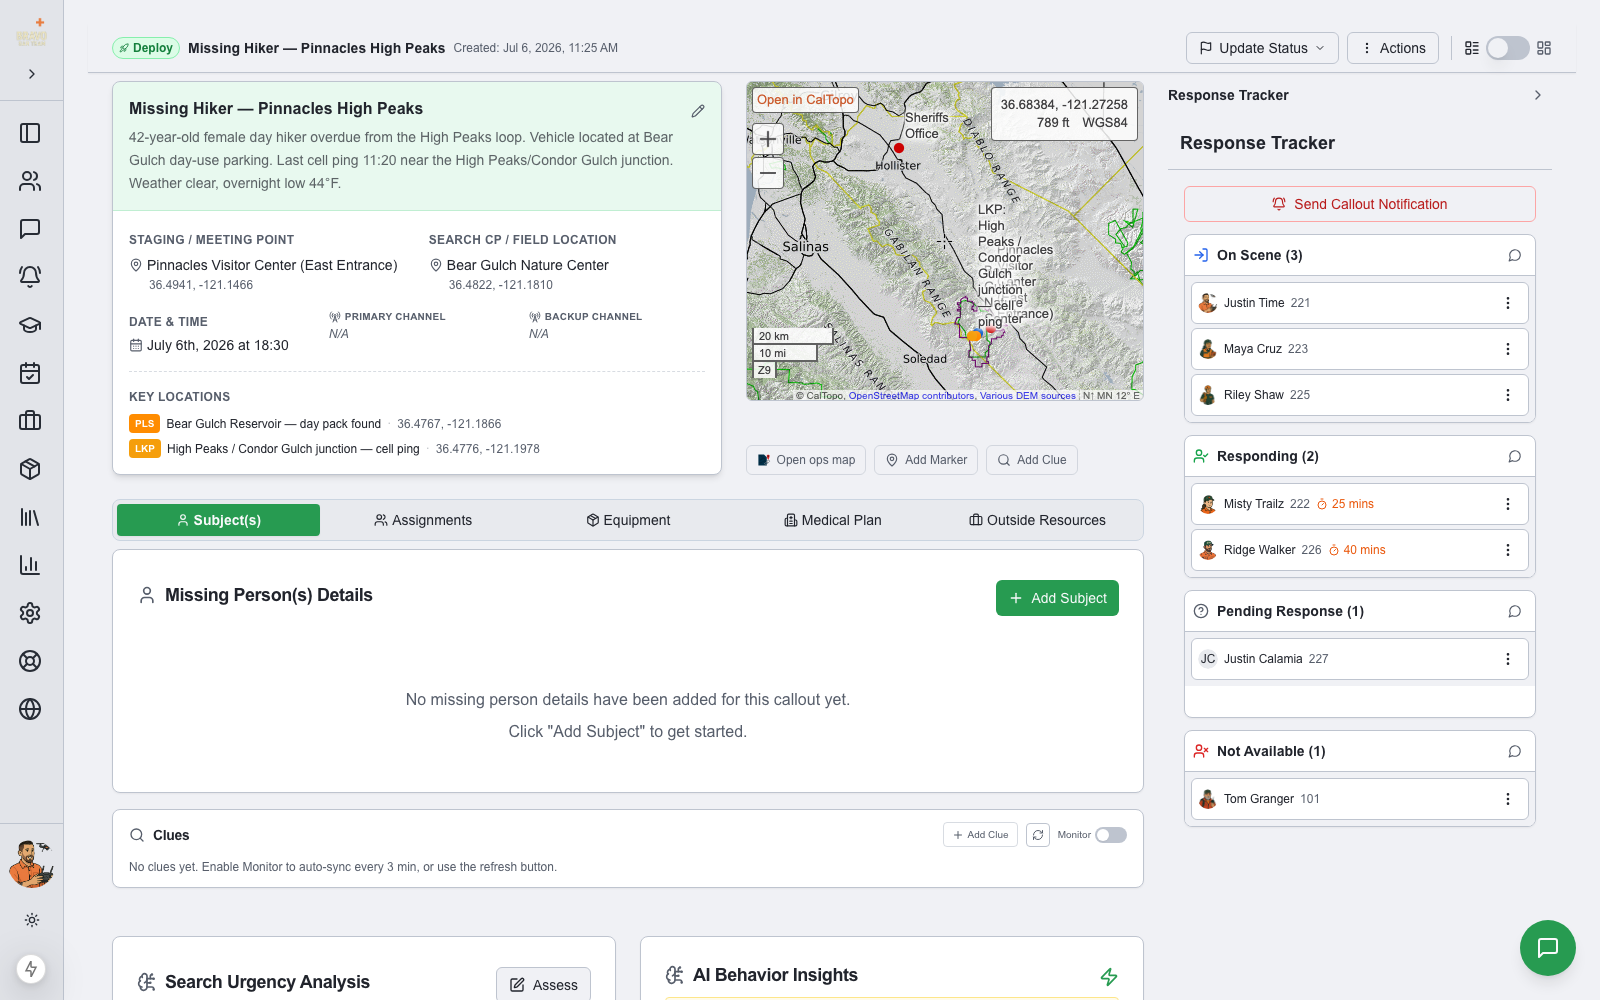
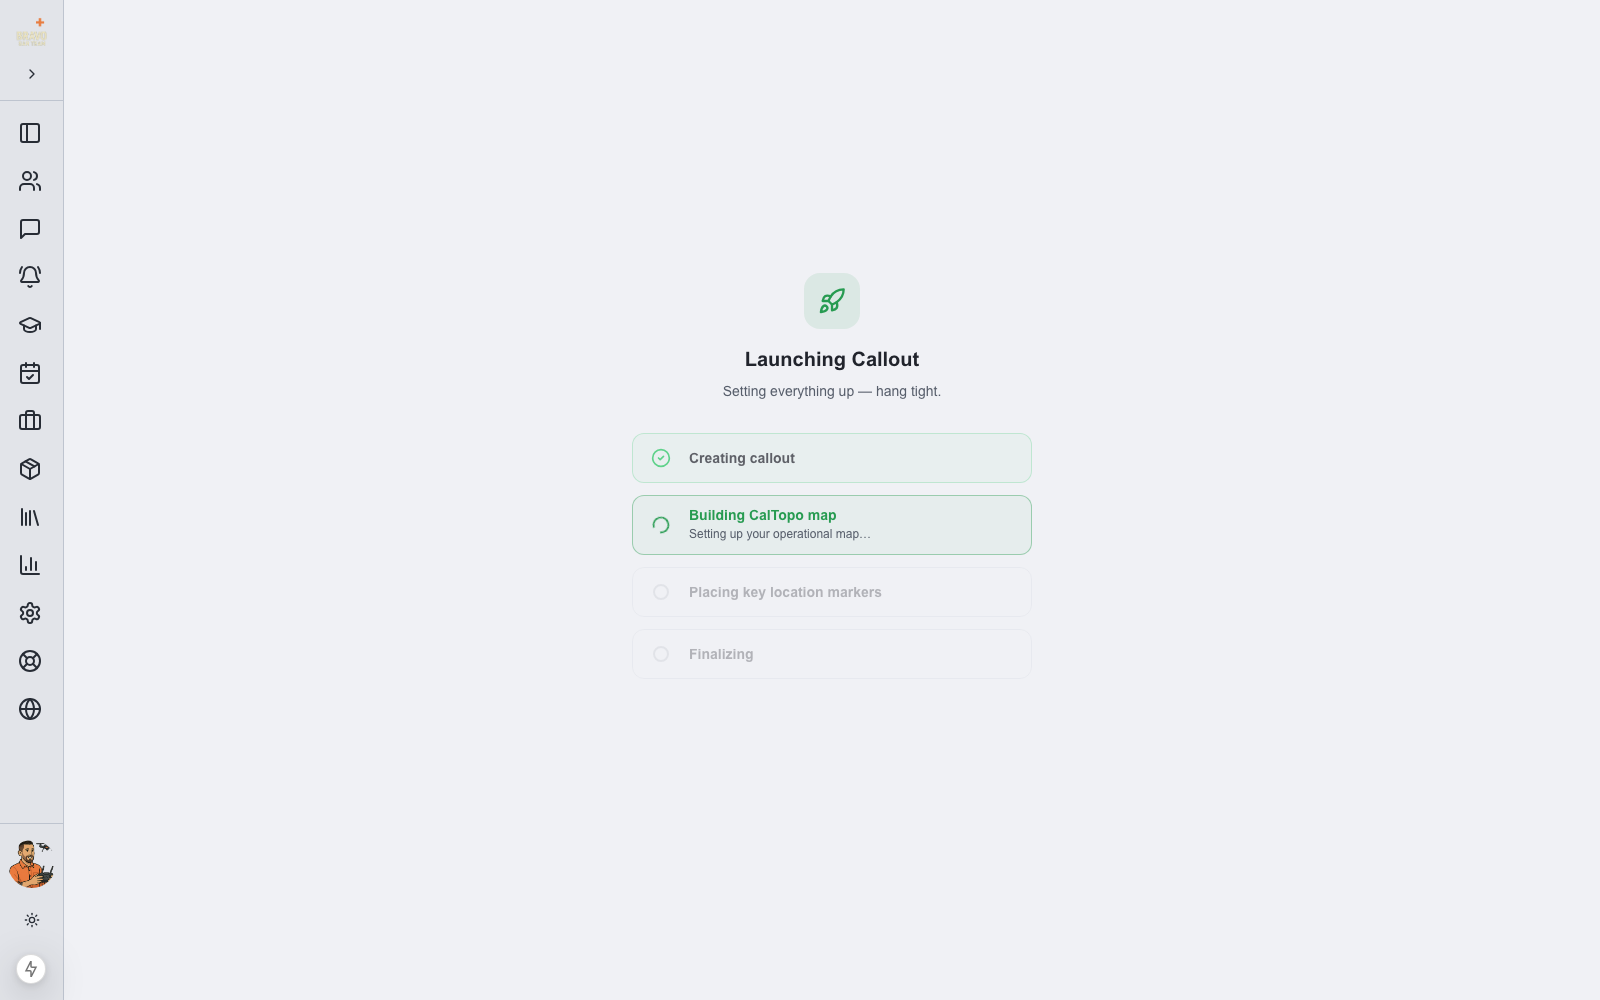
Pick a primary radio channel, leave "Create CalTopo map for this callout" checked (if you connected CalTopo), and click Create Callout. SAR21 walks through the launch in front of you — creating the callout, building the CalTopo map from your team template, and placing the PLS/LKP markers — then lands you on the live callout page.
Your mission hub is ready
Seconds later you’re looking at the live callout page: the embedded CalTopo map with your key-location markers already placed, staging and command post details, subject information, team assignments, equipment, medical plan — and the real-time Response Tracker filling in as members answer the alert.