Set up your team
Create your team profile and get familiar with the Admin Configuration page — the home base for everything you’ll configure in the guides that follow.
About 5 minutesStep 1 of 19 in team setup
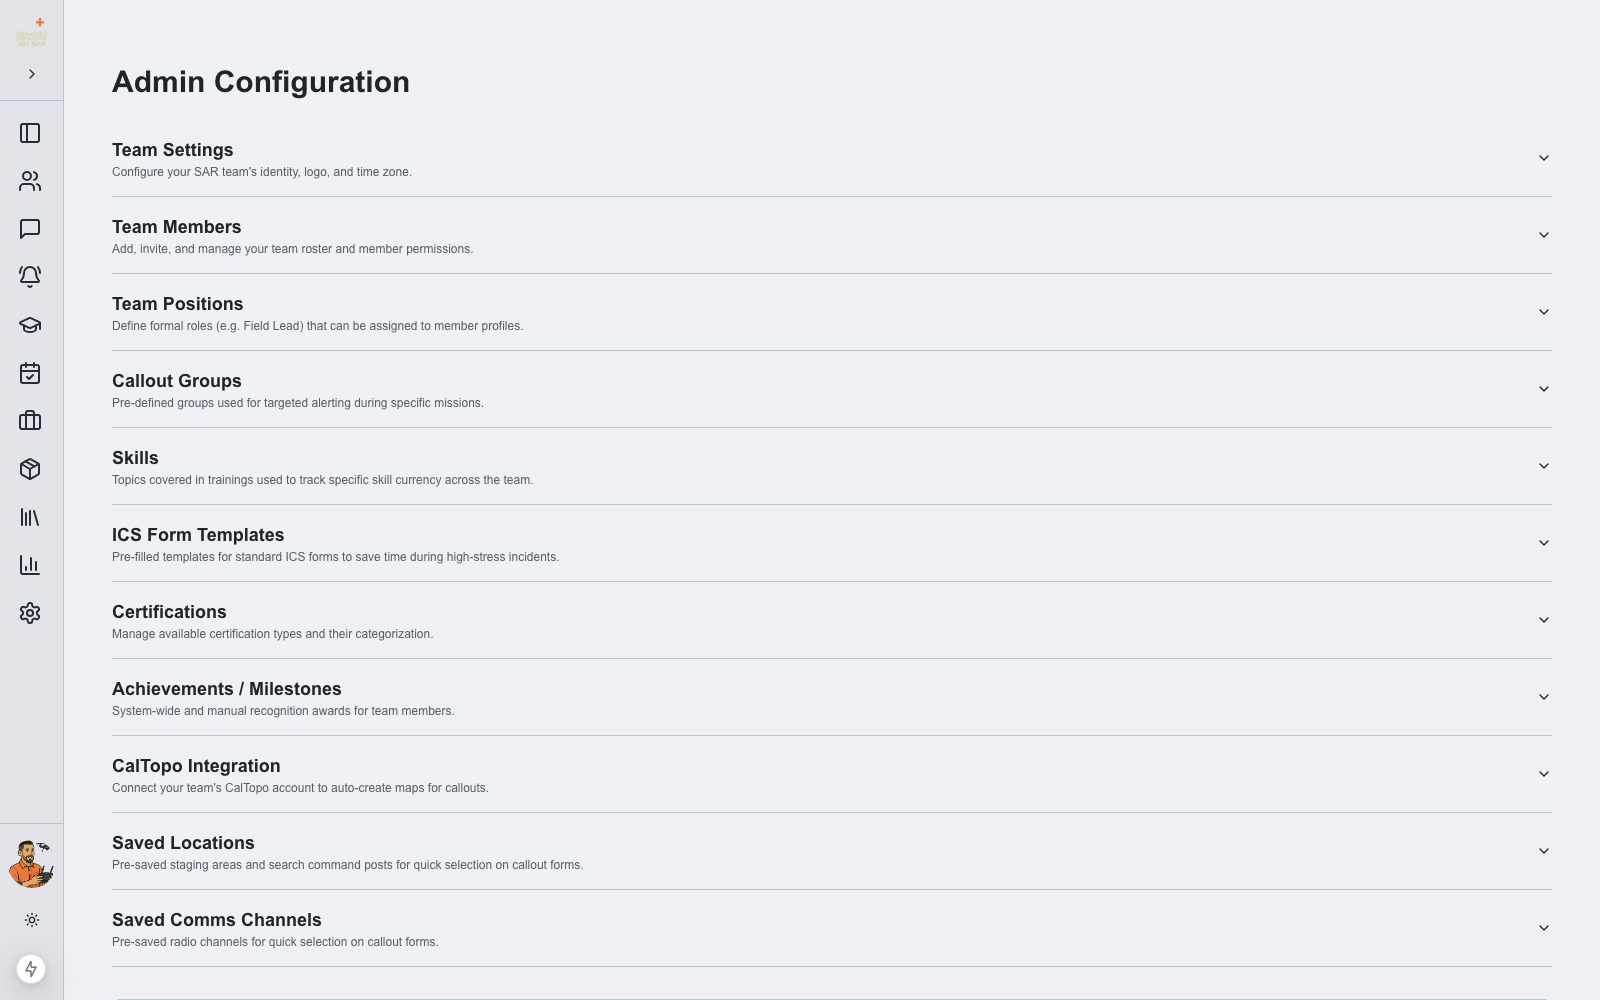
Open Admin Settings
Sign in as a team admin and click Admin Settings at the bottom of the left sidebar. The Admin Configuration page collects every team-level setting in one place, organized as collapsible sections — click any section header to expand it.
- Team Settings — your team’s name, logo, and time zone
- Team Members — add, invite, and manage your roster
- Team Positions, Callout Groups, Skills — structure for your roster
- Certifications and Achievements — track member qualifications
- CalTopo Integration, Saved Locations, Saved Comms Channels — mission infrastructure
Complete your team profile
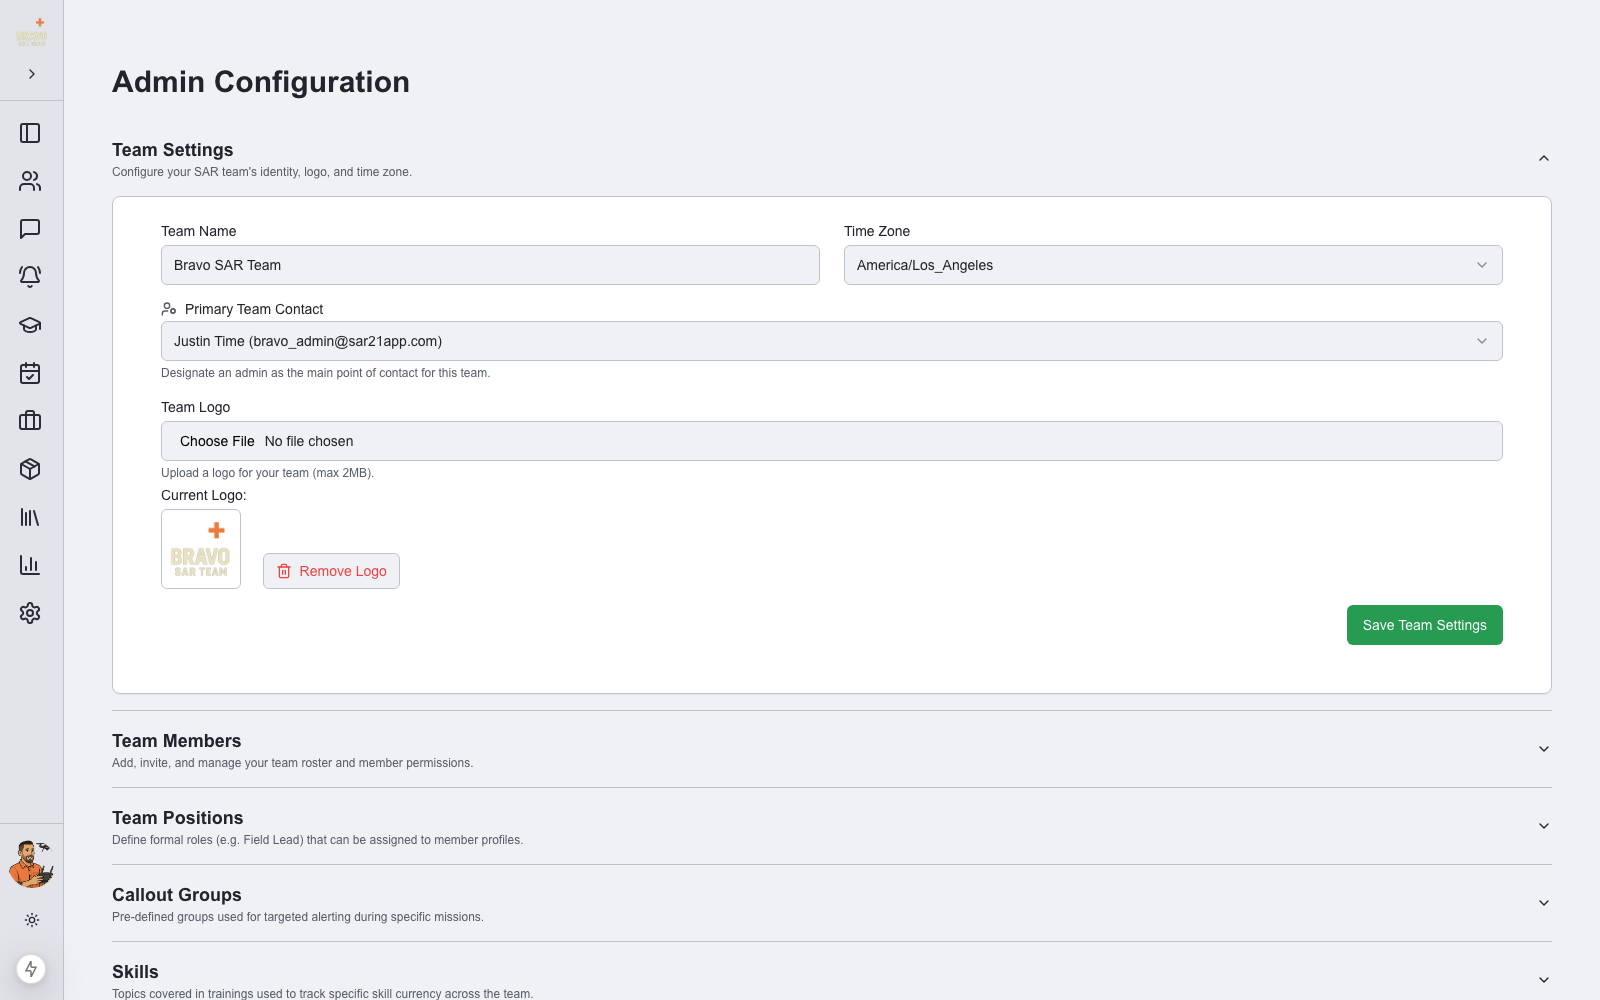
Expand Team Settings and fill in the basics: your Team Name, your local Time Zone (used for all scheduling and notifications), and a Primary Team Contact — the admin who acts as the main point of contact for the team.
Upload a Team Logo (max 2MB). It appears in the app header, on the mobile app, and in email notifications. Click Save Team Settings when you’re done.
Set up saved locations and radio channels
Before your first callout, pre-load the places and channels your team uses again and again. In Saved Locations, add your staging areas and command posts — name, address, and coordinates (lat/long or UTM). In Saved Comms Channels, add your radio channels with name and frequency.
These appear as one-click quick-fill options on every training and callout form, so you never re-type coordinates during a real mission.